A PROGRESSIVE ILLUSTRATION OF
KILN CASTING
SMALL, LEAD CRYSTAL GLASS SKULLS.
The following is a low tech, backyard casting sequence from a small sculpture studio nestled in isolated, bush clad hills of New Zealand’s Northland.
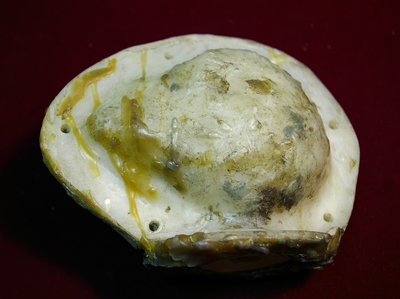
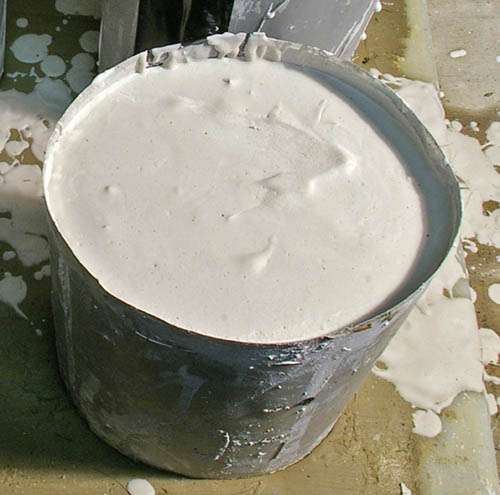
Looks like something ready to go in the bin?
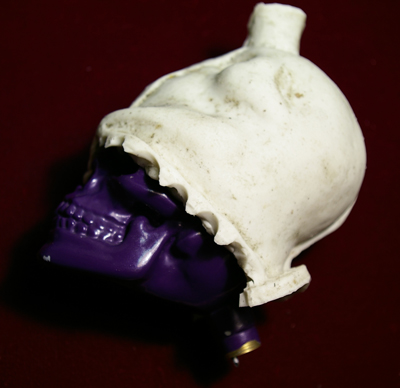
This is the casing or ‘Mother Mold’ which supports the rubber inside. In this instance it is made with fiberglass for strength and durability. Often made with gypsum, ‘Plaster of Paris’, for convenience.
Plaster, short lived and fragile compared to fiberglass.
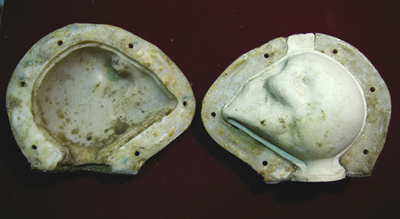
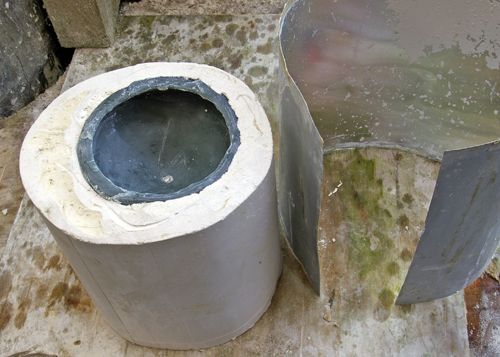
Opened up, the rubber ‘skin’ into which wax is poured at 90c, is now shown fitting inside the ‘glass casing.
Depending on ambient temperature the wax may be cold in 4 hours or thereabouts and ready for removal.
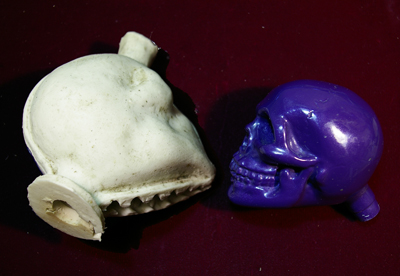
The catalytic, RTV silicon rubber skin mold for the making of small wax skulls.
Or another medium if such were desired. Polyester, acrylic, cements, reconstructed media, the choices are many and varied.
Here the ‘master’ is being withdrawn from the rubber ‘skin. This silicon rubber is a very strong, tear resistant, flexible substance and when designed well for such a mold as this will be capable of innumerable reproductions before deterioration renders it unusable.
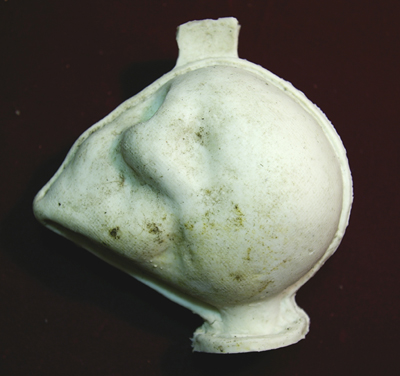
The master pattern released and the rubber ready for wax.
__________________________________________
SMALL, CAST WAX, SKULL
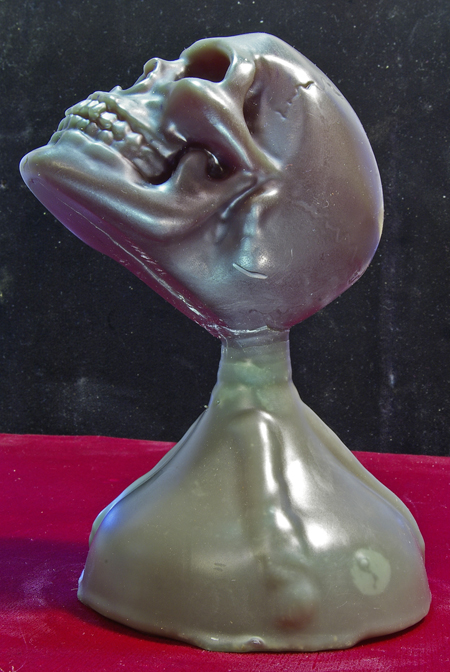
The quality of a wax casting is purely a personal criteria. Here particular attention was focused on the master before the rubber mold was made. Any unwanted blemish on the master would be also on the subsequent wax castings and require unnecessary time in the cleaning up before plaster molding. Or if not dealt to in the wax stage then eventually in the cast glass.
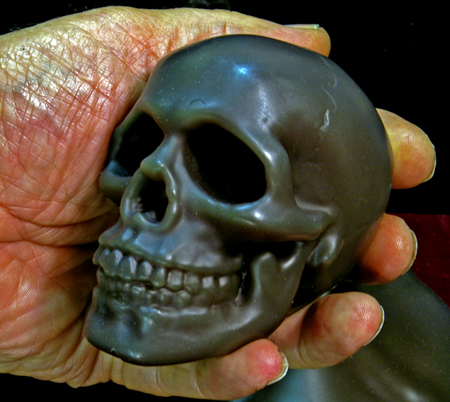
A clean cast in wax with minimal fettling.
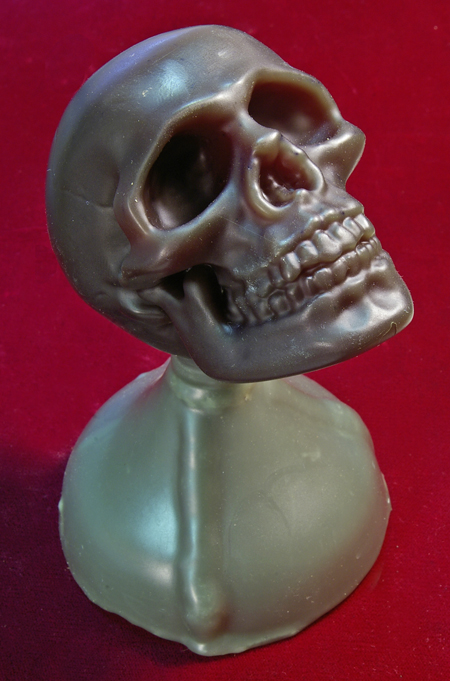
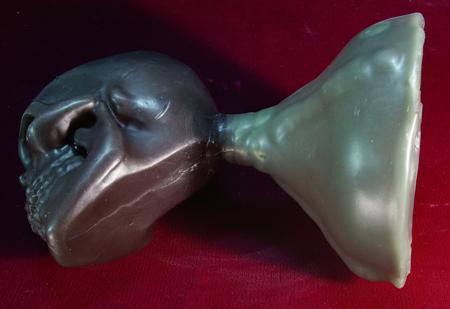
Sprued and cupped ready for the plaster molding process.
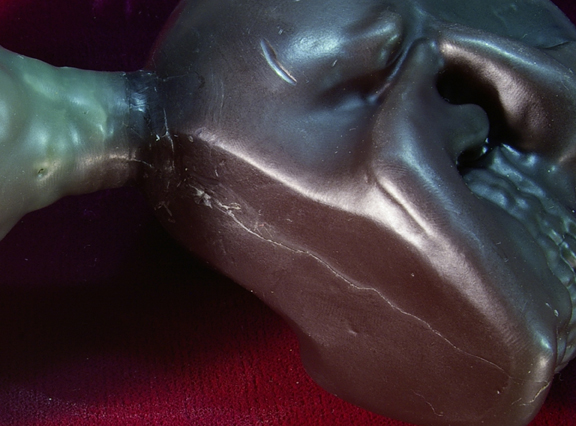
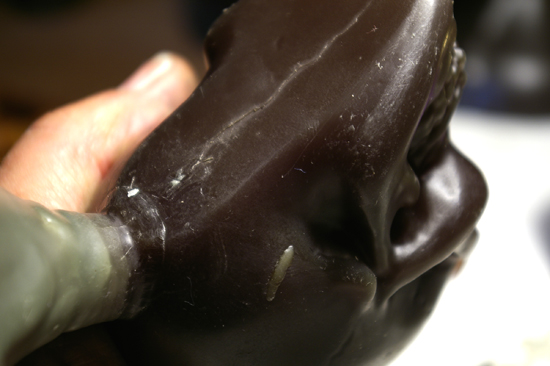
Seam and handling damage requiring attention prior to plaster molding.
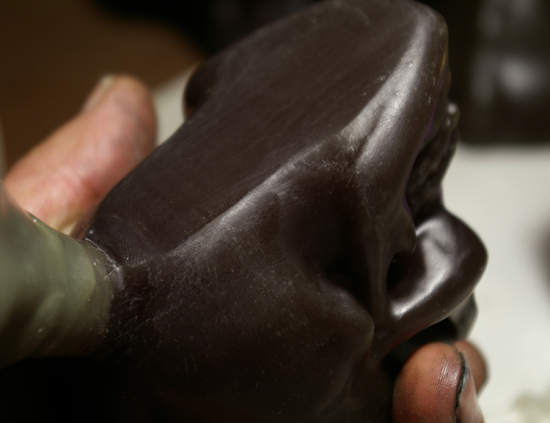
Closing in on the most pertinent ‘dings’!
Evident in the upper portion of the image …. A finger nail mark gouged out in the enthusiasm when removing the wax from the rubber!
____________________________________________________
FETTLING THE WAX SKULLS
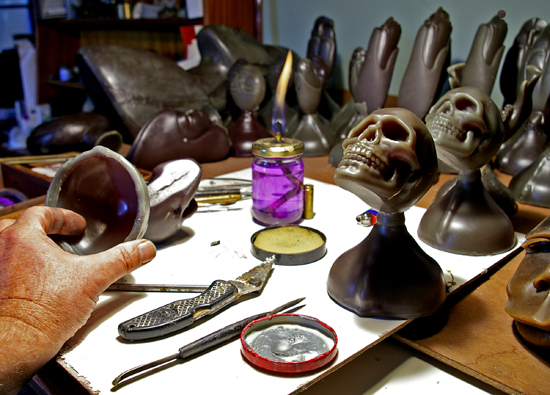
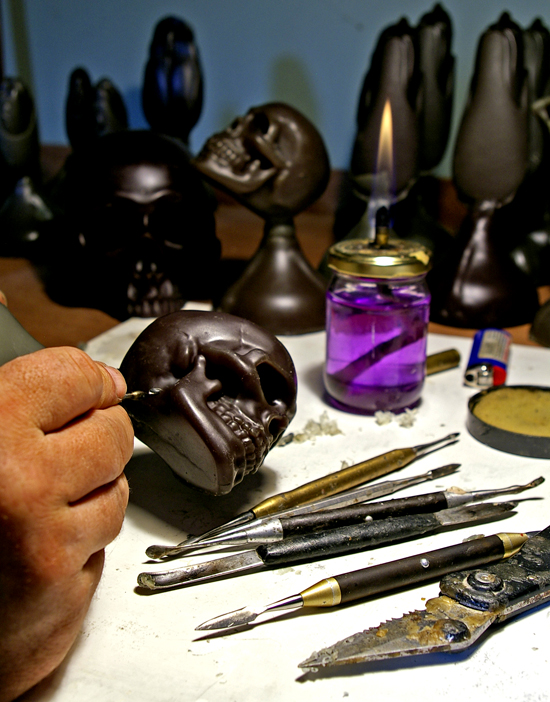
The flame is burning and wax skulls are ready to clean up before investing in plaster mold.
Quick spots of hot wax to fill marks and the odd blemish from handling. The selection of dental wax working tools assist in speeding the process.
On these small wax skulls this is the only part line and is quite easy to remove. The gouge from finger nail enthusiasm now filled and firm enough to dress back.
Finished and almost ready to mold up in plaster.
_________________________________
PLASTER MOLDING OF THE WAX PATTERNS.
The elementary mold mix is one kg of gypsum, one kg of silicon flour to one liter of water.
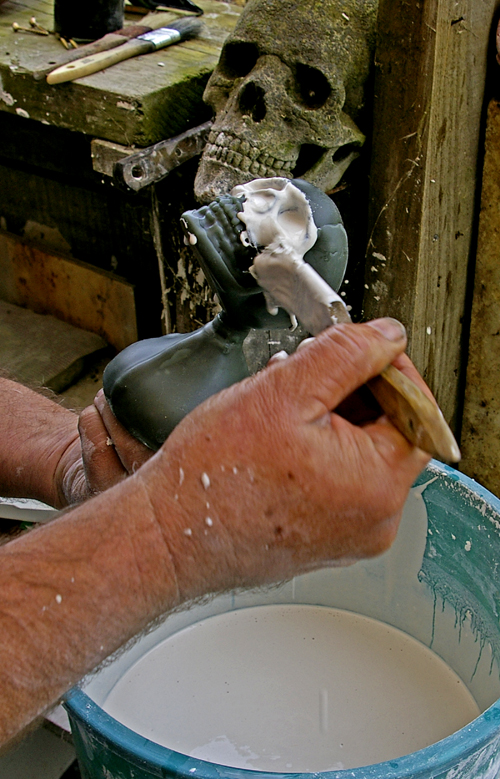
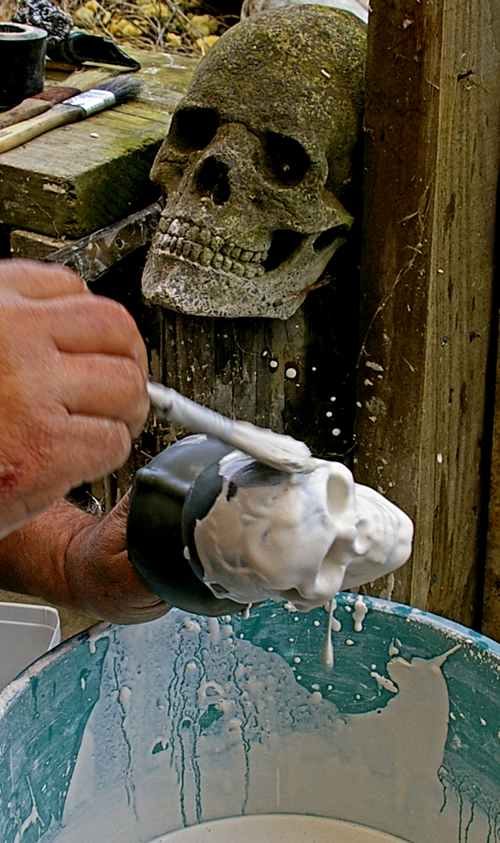
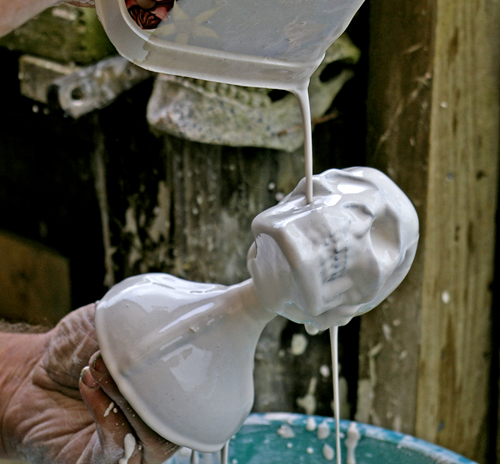
Critical attention applying this pre-coat of molding plaster is crucial to eliminating air bubbles on the surface of the sticky wax. Any bubbles caught here will be on the subsequent cast glass and require tools and time to remove.
Attention… quickly…. before the plaster starts setting.
As soon as that all important initial film is covering the wax pattern and air eliminated a repeated pouring of the still liquid plaster mix builds up the inner layer for the final molding.
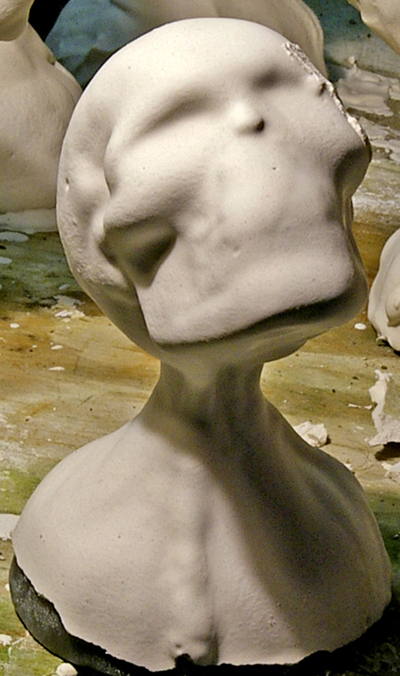
The wax skull now covered with the pre-coat of molding plaster
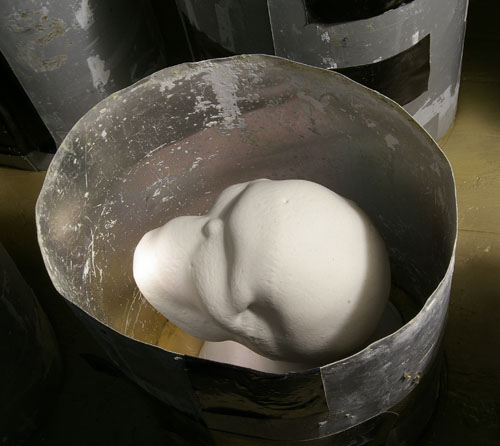
In container for filling with plaster investment….
Invested ….. Wax encapsulated within the plaster mold matrix….
Ready to dewax by steaming out.
_______________________________________
STEAMING OUT OF THE WAX SKULL
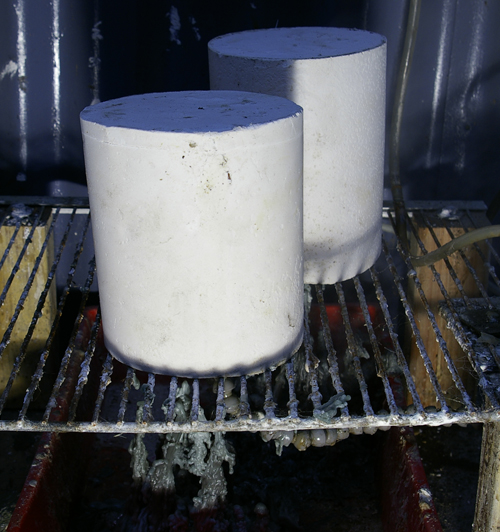
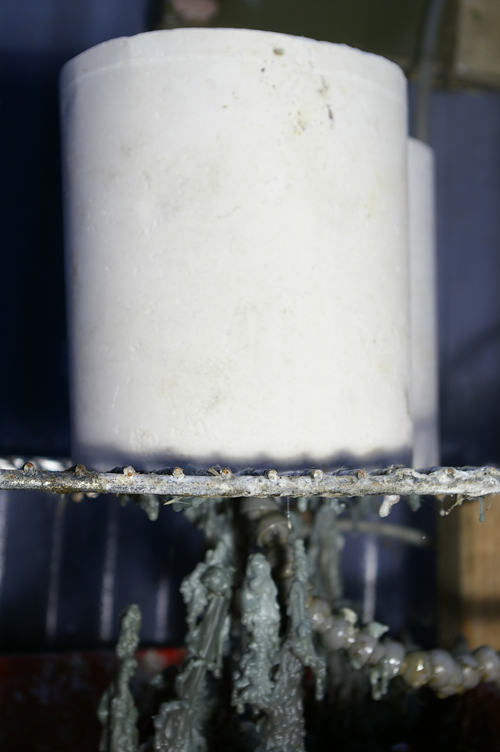
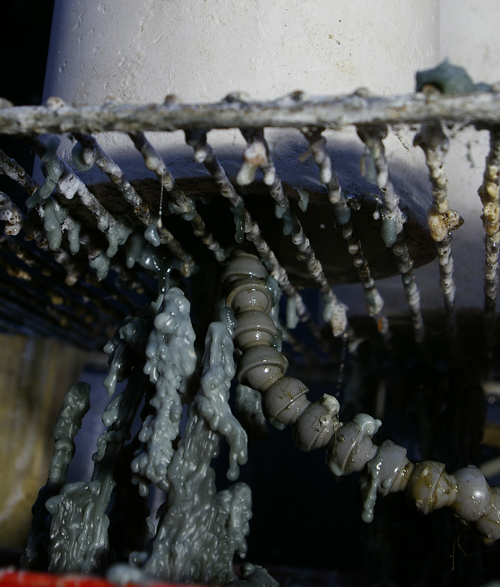
Steam being directed into the openings of the plaster molds to melt out the wax skulls.
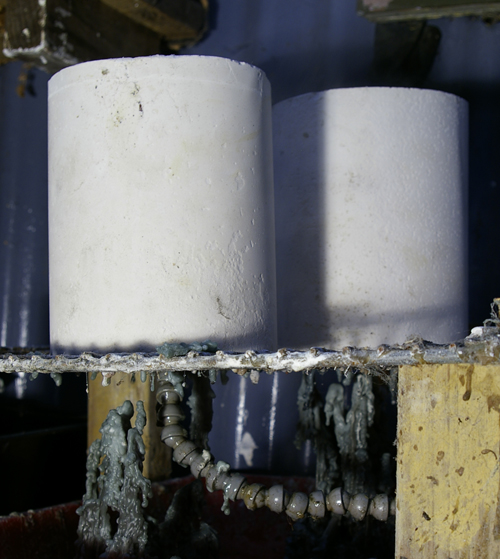
A closer view of introducing the steaming process showing the stalicmites and stalictites of molten wax building up.
A detail showing the wax base still in place at the initial introduction of the steam pipe.
The mold now clean of wax leaving a cavity in the form of the wax skull. Almost ready to prepare for glass and kiln.
___________________________________________
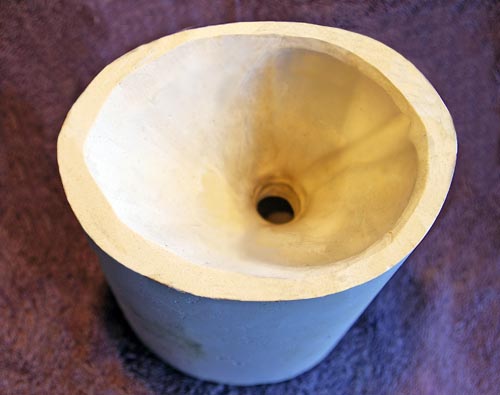
CLEAN & EMPTY PLASTER MOLD
Steamed out, clean and waiting glass.
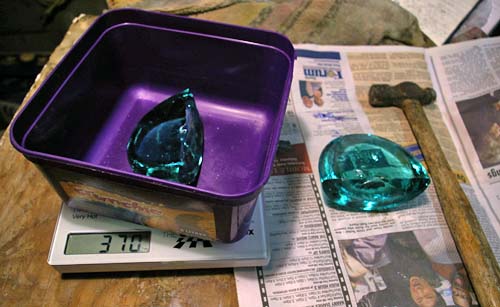
A hammer to break the crystal into appropriate weights for relative molds and patterns. Hand held in tough leather gloves and covered with news paper to shield from flying splinters. Or displacement methodswith unknown weights are the best alterative to work out volumes required.
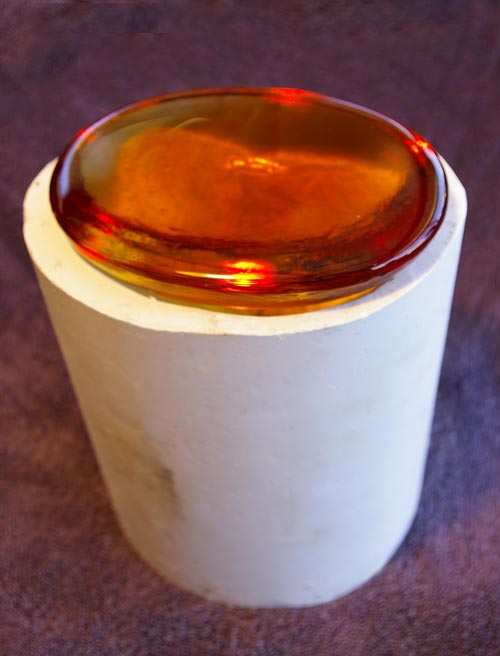
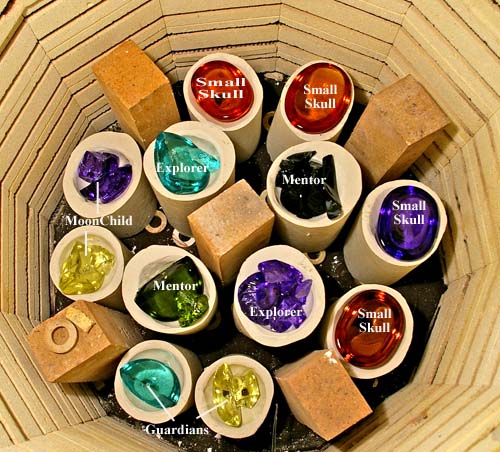
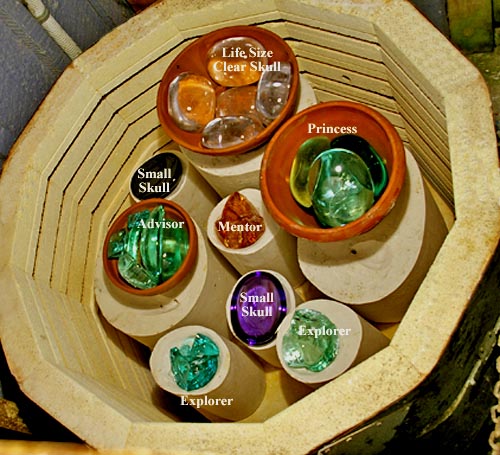
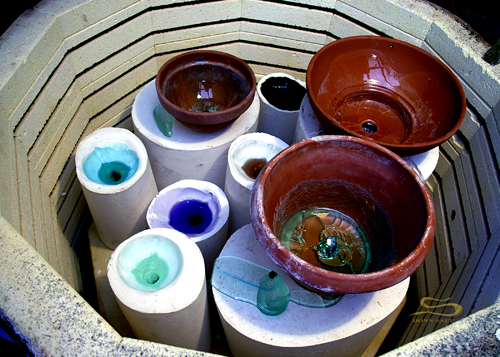
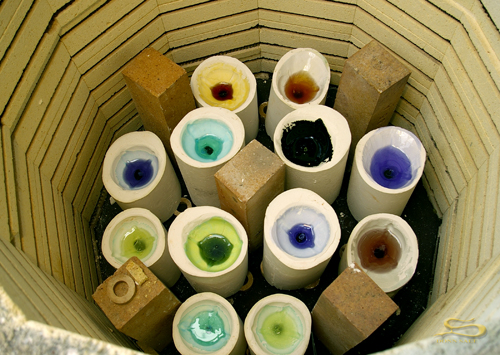
The lower level of this particular kiln used for Kiln Casting Glass is now filled with plaster molds of various patterns. Each with the appropriate amount of glass gently place in the resevoir .
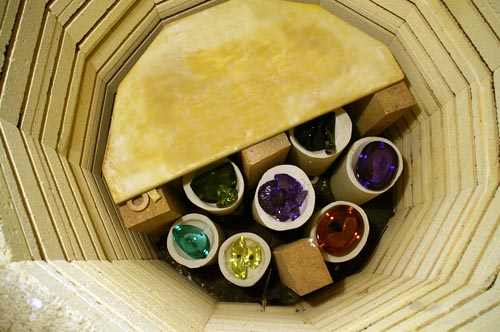
Kiln shelving being set in place to support the upper level of plaster molds for
Casting the Lead Crystal Glass.
Casting Lead Crystal Glass Skulls
With the accompanying plaster molds of other patterns a full week will be required for this sequence of stages to complete the cycle for a successful cast. Under the extreme conditions within the kiln during firing any small oversight in the preparation of these molds could result in disasterous consequences.
Now the seemingly long wait!! Patience !!
____________________________________________
Six days Later
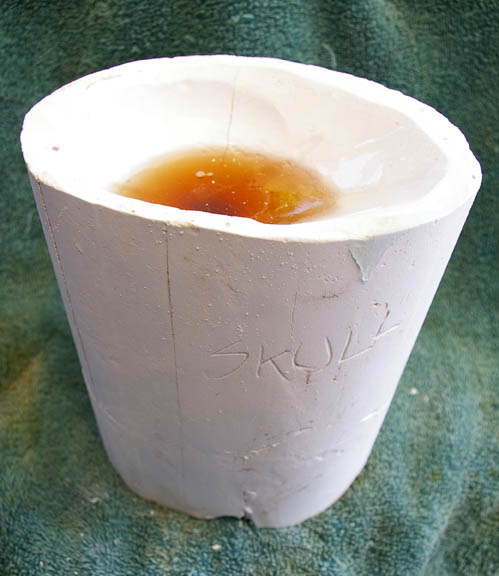
Fired & Ready to Open the Cast Glass Molds.
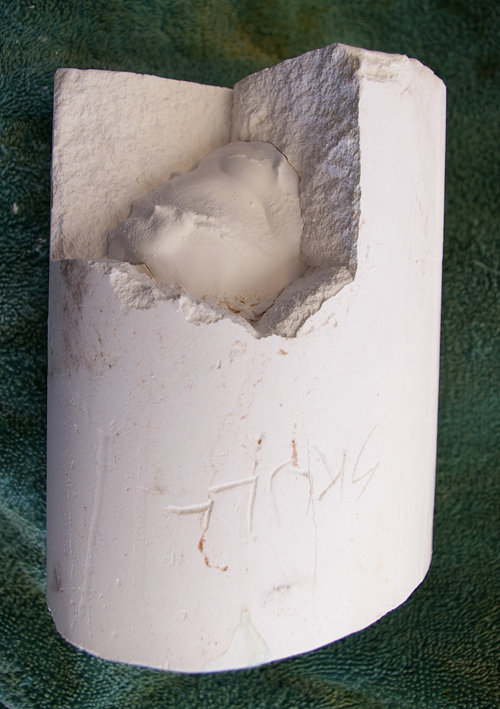
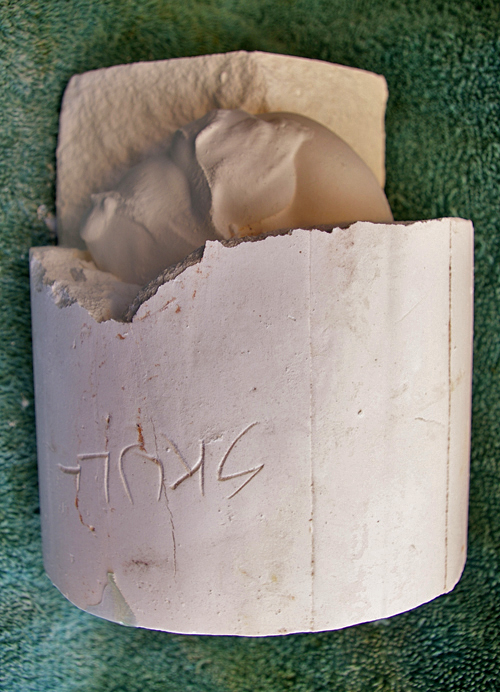
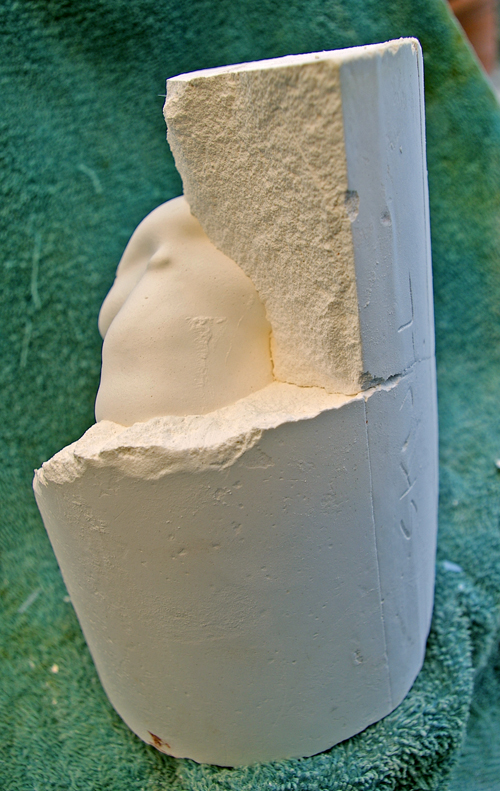
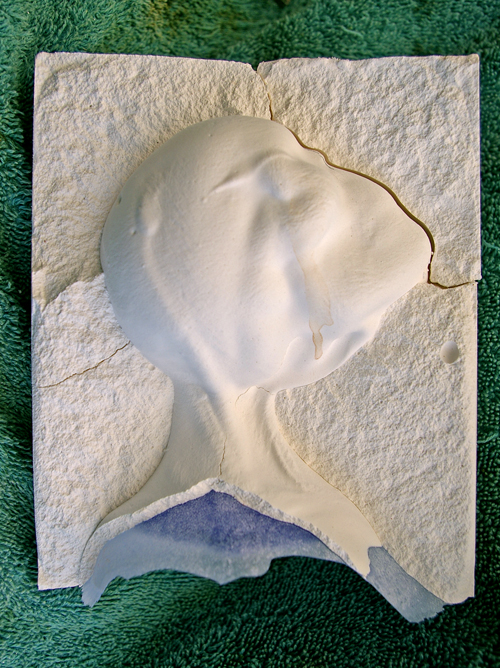
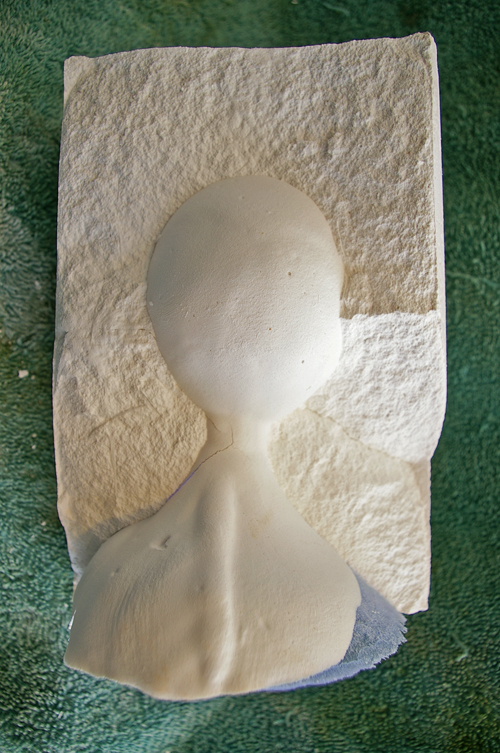
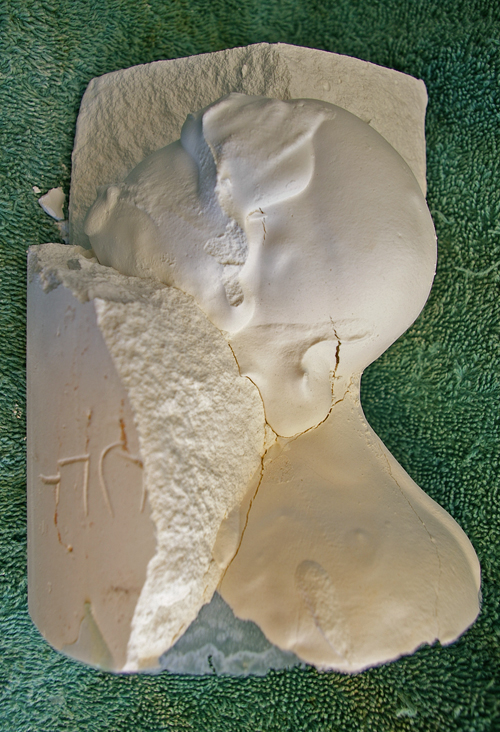
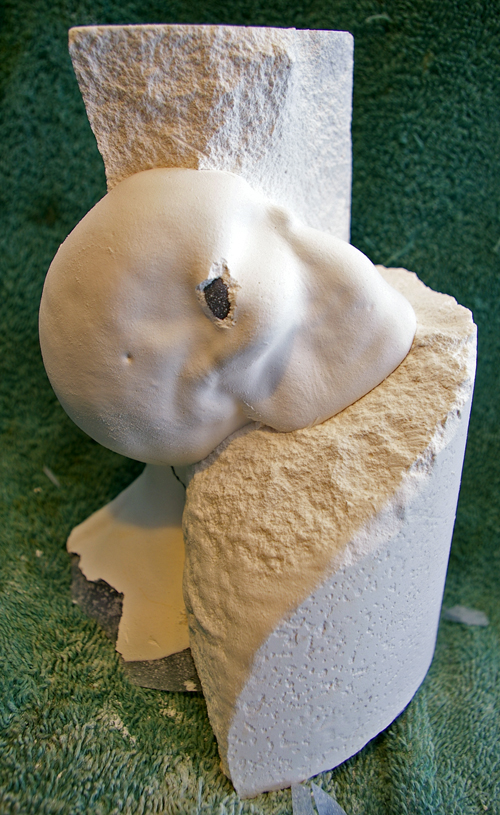
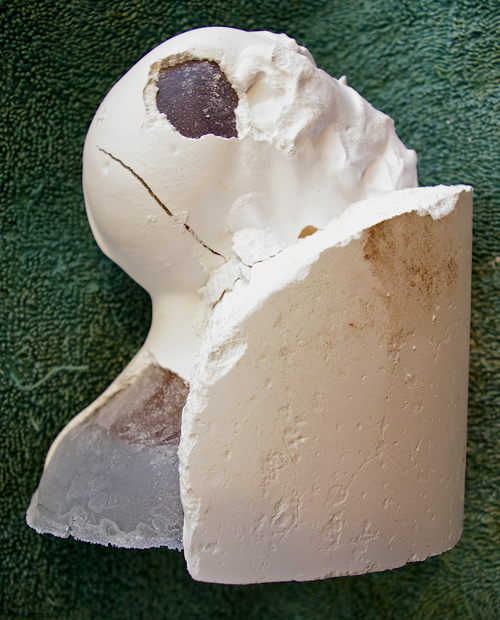
The outer plaster breaks away quite readily from the inner precoat layer
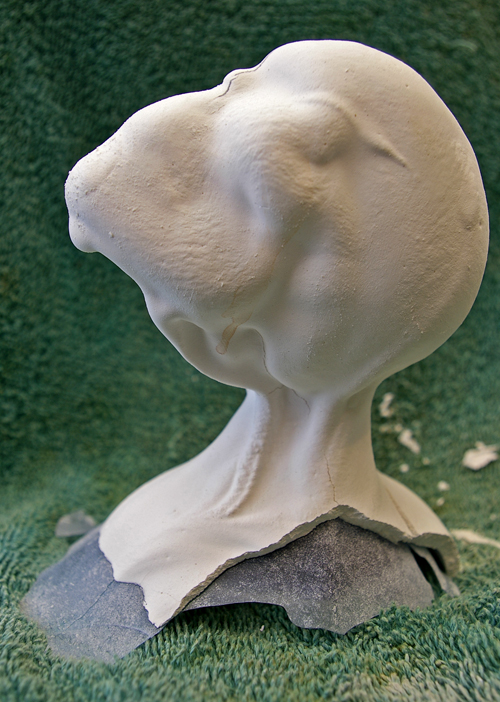
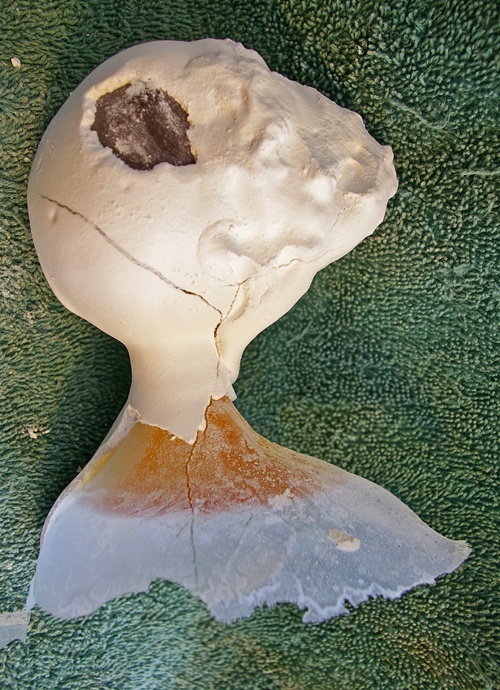
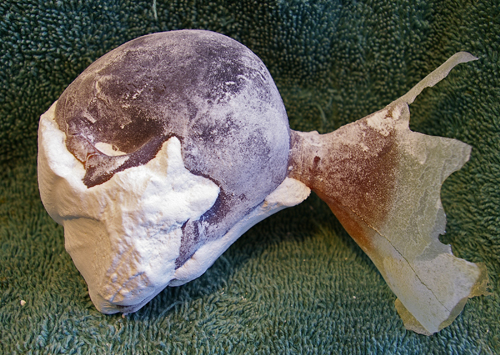
Cracks in the pre coated plaster cause ‘flashing’. Thin veils of glass bleed into the fracture making for more clean up time.
Can occur by numerous causes. A couple of common ones are the wax expanding when warming up through the steaming out process and moulds too wet when placed in the kiln and the temperature ramped up too quickly causing the trapped moisture in the plaster to boil with no way to escape.
Thin, fragile veils (flashing) of glass showing through the fractured plaster matrix.
Final lifting off of the remaining plaster and a quick rinse under the hose…..
Washed off plaster mold residue and now to cutting off the sprues and dressing.
_______________________________________________________
_______________________________________________________
DRESSING OFF THE CAST GLASS SKULLS
A selection of diamond tools and silicon carbide to finish these small Lead Crystal Skulls.
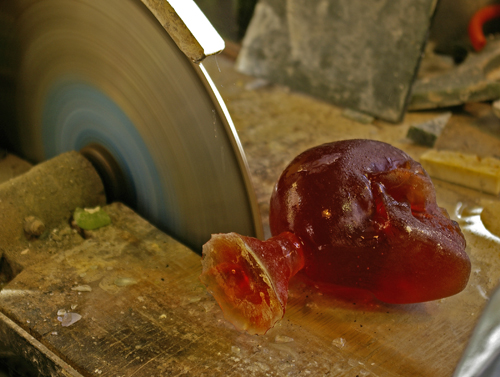
Cutting off the Glass Sprue.
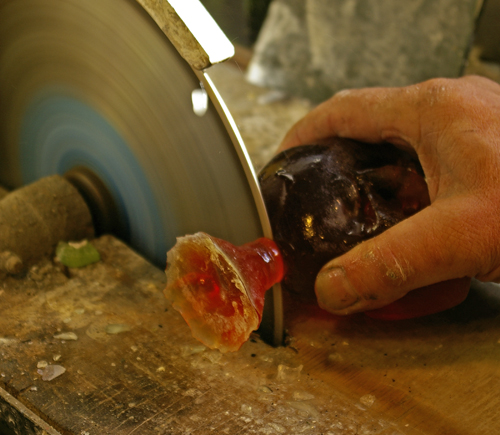
Diamond Cutting the Sprue
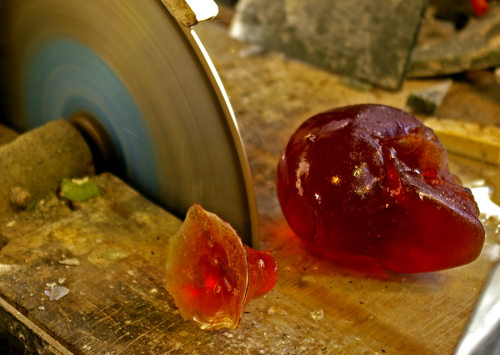
Sprue cut off the Skull
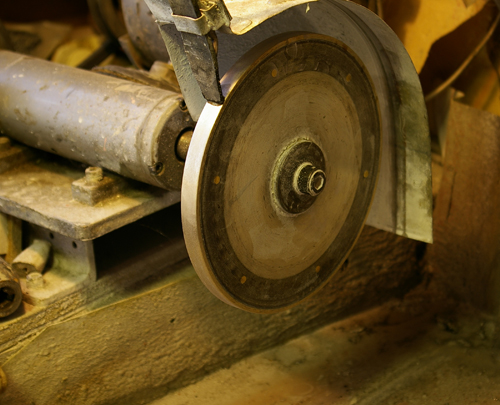
Mounted Diamond Wheel
A 7″ sintered diamond, 220 grit, grind wheel mounted on a point carver system.
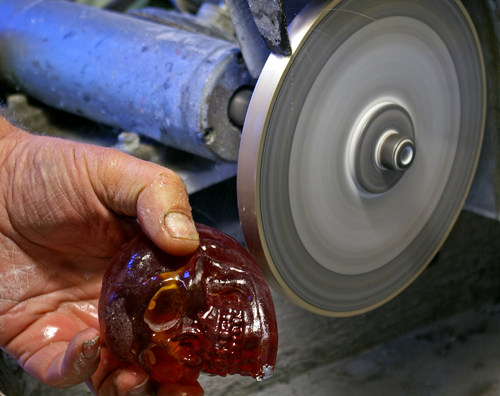
Initial Grinding on the Diamond Wheel.
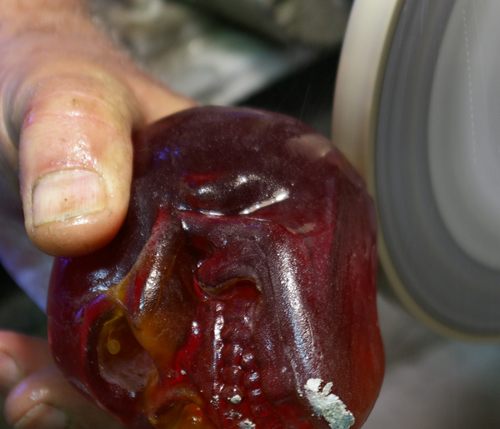
Wet Grinding on the Diamond Wheel
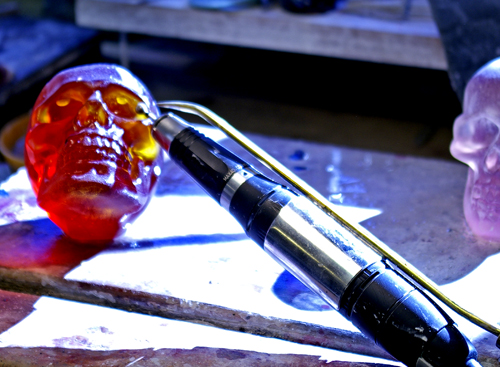
Micro-Motor Handpiece
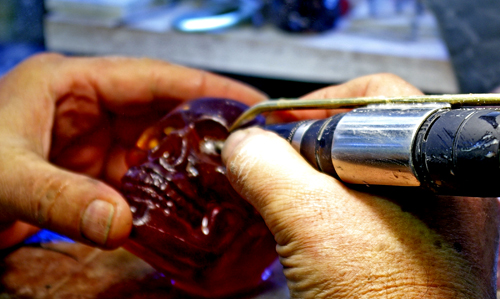
Hand tooling the Skull
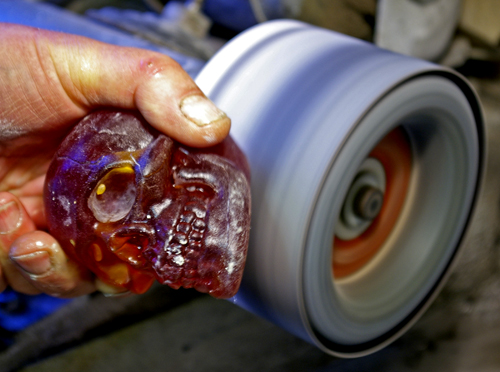
Final dressing off of the Cast Skulls.
Final sanding performed on a 5″ inflatable
drum sander mounted on the Point Carver system.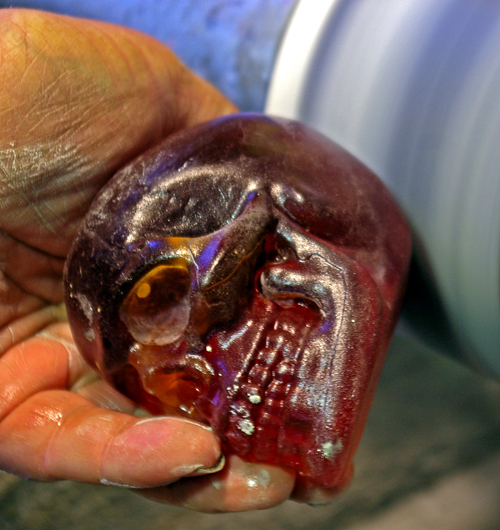
Final Sanding
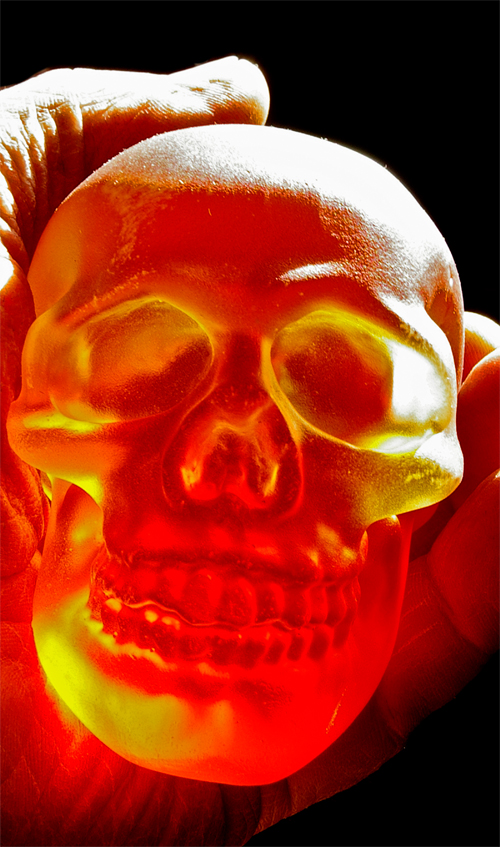
Finished!!
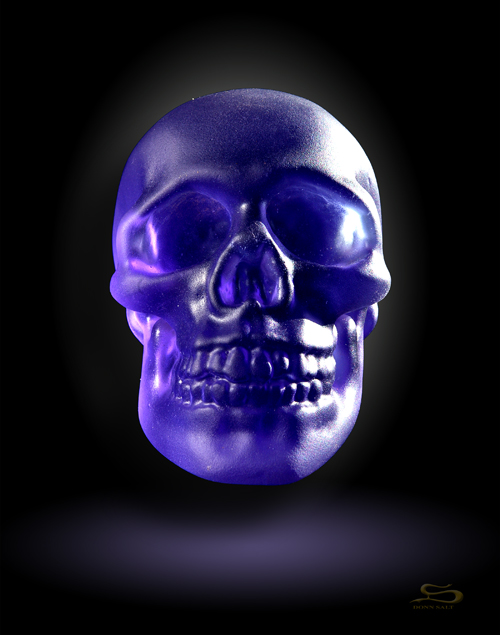
Blue Lead Crystal Skull
Many colors are these made in.
10 Comments to “PROGRESS SEQUENCE. Small Skull”
Write a comment
You need tologin.




HI
How does one purchase one of these skulls? pls reply to dougzuber@gmail.com
Hi, I’m an artist just getting into glass casting. I have a studio with two large electric Skutt kilns. I have had some success but many failures using the lost wax method. I had been using Bullseye Glass but was recently told Gaffer Glass is the best. If you would be interested in sharing your knowledge, I would LOVE to learn all I can about this medium. I will leave my e-mail address and web-site. Thank you for your time.
e-mail: sculpture@margaretwarren.com
Website: http://www.margaretwarren.com
Hi Lola,
It is in the observing of the comparisons between the perceived ‘good’ and ‘bad’ that these experiences teach us how to control the media more to our desires.
And yes! Raw material does play a large role in the quality of a cast. From experience Gaffer Glass is the undoubted choice. This is a 40% lead crystal specifically developed for casting.
Donn
[…] Glasskulls.com, though short on “who,” is long on “how,” featuring nice big, clear photos illustrating the process of going from wax master to finished art glass casting. Inferring from the scattered comments, I think the artist’s name is “Donn.” If so: Nice work, Donn, and thanks for showing us how it’s done. […]
[…] Glasskulls.com, though short on “who,” is long on “how,” featuring nice big, clear photos illustrating the process of going from wax master to finished art glass casting. Inferring from the scattered comments, I think the artist’s name is “Donn.” If so: Nice work, Donn, and thanks for showing us how it’s done. […]
[…] Glasskulls.com, though short on “who,” is long on “how,” featuring nice big, clear photos illustrating the process of going from wax master to finished art glass casting. Inferring from the scattered comments, I think the artist’s name is “Donn.” If so: Nice work, Donn, and thanks for showing us how it’s done. […]
[…] Progressive illustration of kiln casting, small lead crystal skulls – “A low tech, backyard casting sequence from a small sculpture studio nestled in isolated, bush clad hills of New Zealand’s Northland.” – Via Make. […]
Hi! Thank you for this page!
It’s fantastic! I would like to try to make glass cube.
But i don’t understand exactly…
“The elementary mold mix is one kg of gypsum, one kg of silicon flour to one liter of water.”
What is “silicon flour”?
Silicon, like an inplant? Or silicium (SI)? Or what?
Please, give me some information as soon as possible!
Tnx: Dewill
Silica Flour. Silica is silicon dioxide, SiO2 ….. Available in 20 kg bags.
It is used as the refractory ingredient to prevent the gypsum from breaking down in the kiln environment. No more than 50% mix with the gypsum otherwise the plaster becomes too weak to hold when red hot. Top heat 950c maximum for no more than 5 hours before mold will start to deteriorate. Recommended is 850c up to 12 hours….. this time is relevant to size of object….. general rule is half an hour per 1/4 inch, more is recommended. So a piece an inch thick is fired at top temp. for a minimum of 2 hours….. 3 would be better.
[…] Thanks to the Gaffer Girls for this post. As I keep mentioning, I’m totally into glass casting!! Love love love it!! So when I see something about it I can share with all of you you know I will. Today you’ll see the process to make glass skulls. The casting process does scare people away because it has quite a few steps and can be fairly time consuming. So watch the process…over at glassskulls.com!! […]